Sublimation Heat Transfer: A Guide to Vibrant Textile Prints
A successful sublimation heat transfer is more than just the final press. It's a fascinating process that turns solid ink into a gas, permanently dyeing polyester fibers. The result? Stunningly vibrant and durable designs that won't crack, peel, or fade like other methods. But achieving that professional finish starts with building a reliable toolkit.
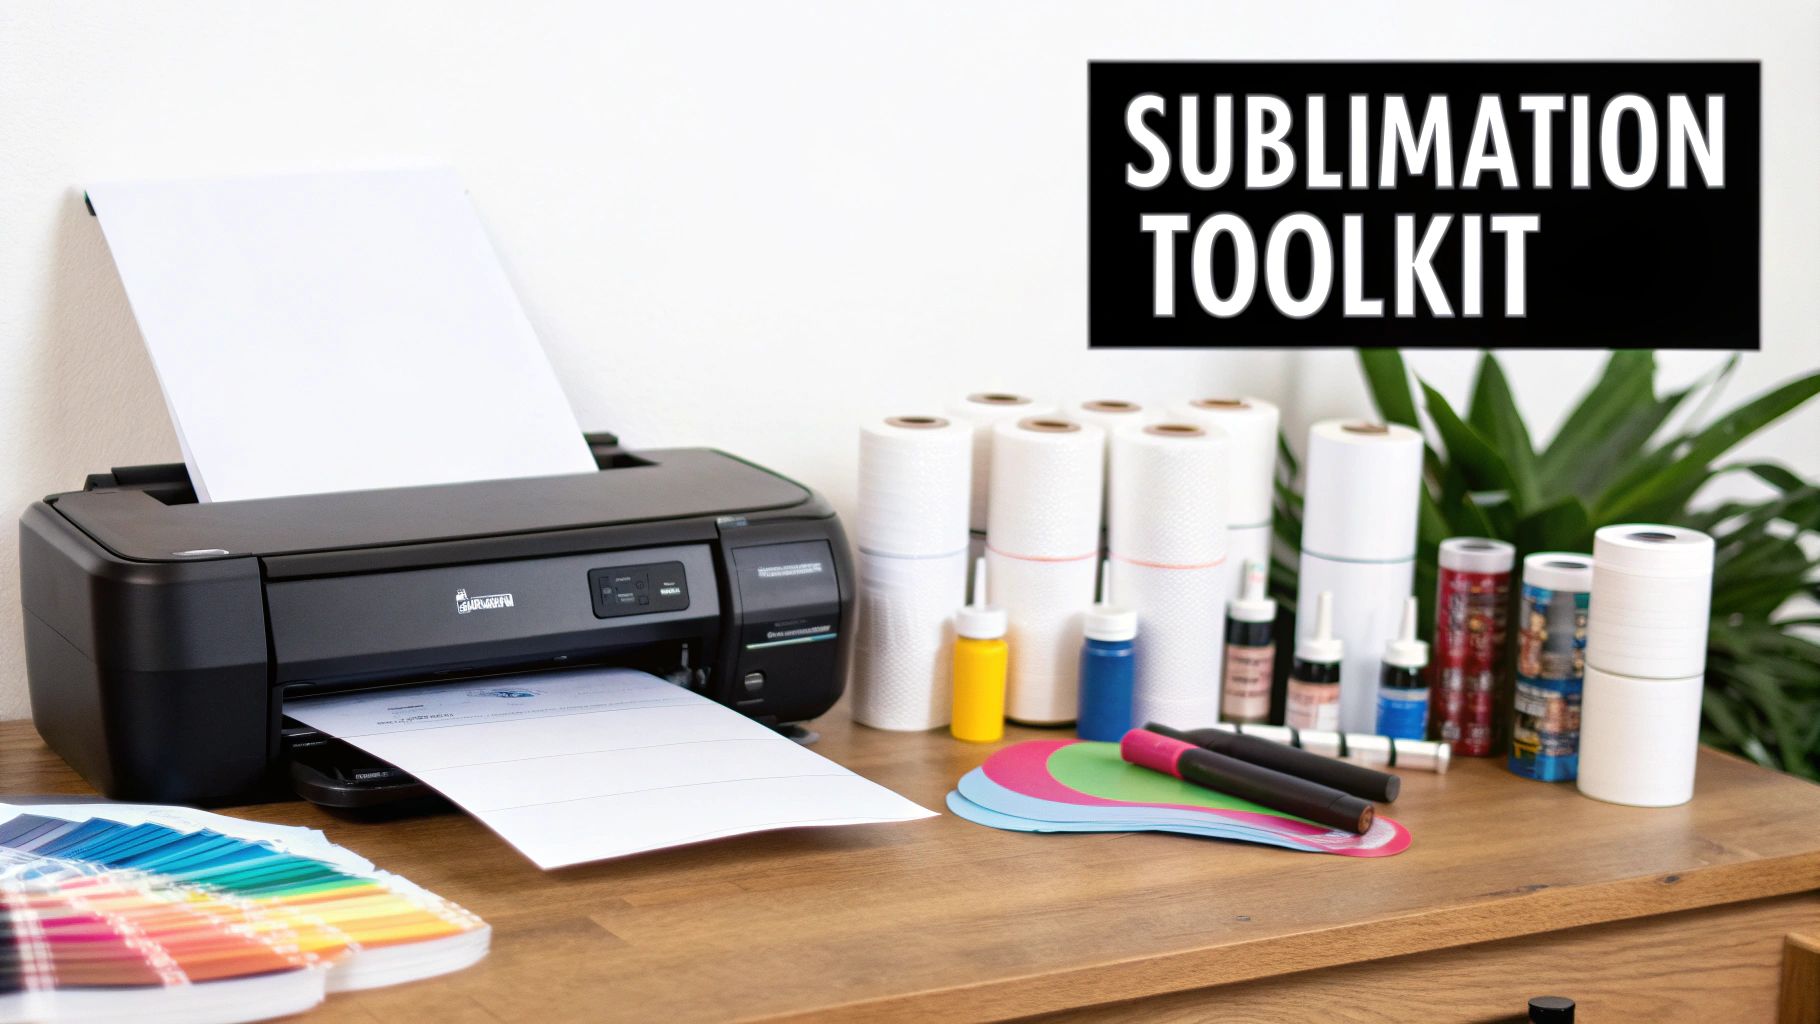
Building Your Sublimation Heat Transfer Toolkit
Welcome to the world of sublimation! The quality of your equipment is the foundation for incredible results. A successful transfer doesn't start at the press; it begins with having the right tools on hand, ready to go. Think of this as a strategic guide to building a solid setup that lets you turn premium blanks into brilliant products with confidence.
Core Equipment Every Print Business Needs
At the heart of any sublimation business are a few non-negotiable pieces of equipment. Investing in quality from the get-go will save you headaches, costly errors, and wasted materials down the line.
Your core setup will include:
- A Dedicated Sublimation Printer: This is not your standard office inkjet. Sublimation printers are built to handle the thicker, specialty inks this process requires.
- High-Quality Sublimation Inks: These special dyes are the magic ingredient. When heated, they transform directly from a solid into a gas, permanently infusing the polyester fibers of your blank.
- High-Release Sublimation Paper: This isn't just any paper. It’s specially coated to release the maximum amount of ink during the heat transfer, ensuring your colors come out rich and deeply saturated.
- A Reliable Heat Press: This is arguably your most crucial investment. Consistent temperature and even pressure across the entire platen are non-negotiable for getting flawless, professional-grade results every single time.
The demand for high-quality customized goods is growing, and the market for this equipment is expanding with it. The sublimation printing equipment sector is projected to expand from $2.7 billion in 2025 to $4.1 billion by 2032. This growth means creators like you have access to better printers with sharper outputs, making premium textiles like our collection of sublimation-ready blankets pop with durable, wash-resistant prints.
As textile specialists, we've learned one thing is certain: your final print is only as good as the weakest link in your toolkit. Skimping on paper or using a heat press with cold spots will always show in the final product, no matter how premium your blank is.
Essential Accessories for a Smooth Workflow
Beyond the big-ticket items, several smaller accessories are vital for efficiency and quality control. These are the tools that help you avoid common frustrations and ensure every transfer is as perfect as the last.
Think of these as your workshop must-haves:
- Heat-Resistant Tape: You need this to secure your printed transfer to the blank. It prevents the paper from shifting during pressing, which causes that dreaded "ghosting" or blurry edges.
- Butcher or Blowout Paper: Placed above and below your project in the press, this plain, uncoated paper is cheap insurance. It protects your heat press platen from any ink that might bleed through the fabric.
- Lint Roller: A meticulously clean surface is critical. Even a single stray fiber can sublimate into a noticeable blue or dark speck on your final product. Lint roll everything, every time.
- Heat-Resistant Gloves: Safety first! These protect your hands when handling hot textiles straight from the press, allowing you to work faster and more safely.
By assembling this complete toolkit, you're not just buying equipment; you're building a system for consistent success. Each component plays a vital role in achieving that vibrant, permanent sublimation heat transfer that will keep your customers coming back for more.
Choosing and Prepping Your Textile Blanks
In sublimation, the textile you choose is far more than just a piece of fabric—it's your canvas. The quality of your final print, from its sharpness and color vibrancy to its longevity, is determined by the material you start with. Unlike screen printing, sublimation creates a chemical bond between the ink and the fabric, making your choice of blank absolutely critical.
The magic of sublimation ink happens when it bonds with polyester. If you're chasing those incredibly vibrant, photo-realistic prints, you need a high polyester count. For the best results, nothing beats 100% polyester. While you can press on poly-blends, the outcome will be different. The ink will only adhere to the polyester fibers, resulting in a faded, vintage-style look as the cotton or other natural fibers won't hold the color.
Why the Right Fabric Makes All the Difference
Here’s a tip from our experience: not all polyester is created equal. The specific type of fabric and its weight are two of the biggest factors that will dictate your heat press settings and the final look of your design. We've spent years curating our collection at Spark Blank Textiles to ensure every piece provides a predictable, beautiful result.
-
Fabric Type: Consider the texture. A smooth fleece offers a perfectly flat surface, ideal for capturing crisp, sharp details. On the other hand, something with a deep pile, like a plush Sherpa or a mink touch blanket, creates a softer, more luxurious feel where the image becomes part of the fabric's texture.
-
Fabric Weight (GSM): GSM, or Grams per Square Meter, indicates fabric density. A heavier blank, like our 430 GSM Sherpa Throw, is dense and requires more time on the press for heat to penetrate fully. A lighter option, like our popular 300 GSM Fleece, heats up faster. Understanding this relationship is key to dialing in your settings and avoiding scorching or a washed-out print.
This is exactly why we're so focused on textiles. We source and test fabrics that not only feel amazing but are specifically chosen to make your sublimation designs pop.
The Prep Work You Can't Afford to Skip
The fastest way to ruin a perfectly good blank is to skip the prep work. Before a textile ever sees your heat press, two steps can mean the difference between a professional product and a costly mistake.
First, get obsessive with your lint-roller. Tiny, invisible dust particles, stray threads, and loose fibers are your worst enemy. Under heat and pressure, these specks turn into permanent blue or dark dots you can't remove. Roll the entire surface, then roll it again, even if it looks spotless.
We tell every new printer the same thing: If you think you've lint-rolled enough, do it one more time. It's a five-second habit that prevents the single most common and frustrating print flaw.
Second, always pre-press your blank. Place the textile on your heat press for 5-10 seconds at your target temperature before adding the transfer paper. This quick step does two incredibly important things: it removes wrinkles and, more importantly, it evaporates any hidden moisture in the fibers. Moisture is a killer for sublimation—it turns to steam and can cause blotchy, uneven colors.
A pre-pressed blank is the foundation for a flawless transfer. It’s flat, dry, and clean, giving you the best possible surface for your design, whether you're working with a cozy blanket or our super-absorbent line of high-quality towels. A few moments of careful prep is what creates a stunning final product.
Dialing in Your Heat Press: Time, Temperature, and Pressure
With your textile blank perfectly prepped, it's time for the magic. The heat transfer is where your printed design becomes a permanent, vibrant part of the fabric, and it all comes down to the big three: time, temperature, and pressure. Forget generic advice—the perfect settings are always tied directly to the specific blank you're working with.
Think of it like cooking. You wouldn't use the same heat and time for a thin fish fillet as you would for a thick roast. The same principle applies here. A plush, high-pile 430 GSM Sherpa blanket needs a longer press time than a lighter 300 GSM fleece. That extra time allows the heat to fully penetrate those deep fibers and properly activate the sublimation ink.
The Perfect Press Workflow
The pressing process isn't complicated, but getting it right every time comes down to precision. A slightly crooked alignment or a forgotten sheet of blowout paper can ruin a great setup. Building a consistent workflow is the best way to develop muscle memory and minimize mistakes.
Before the blank even hits the heat press, your prep work sets the stage for success.
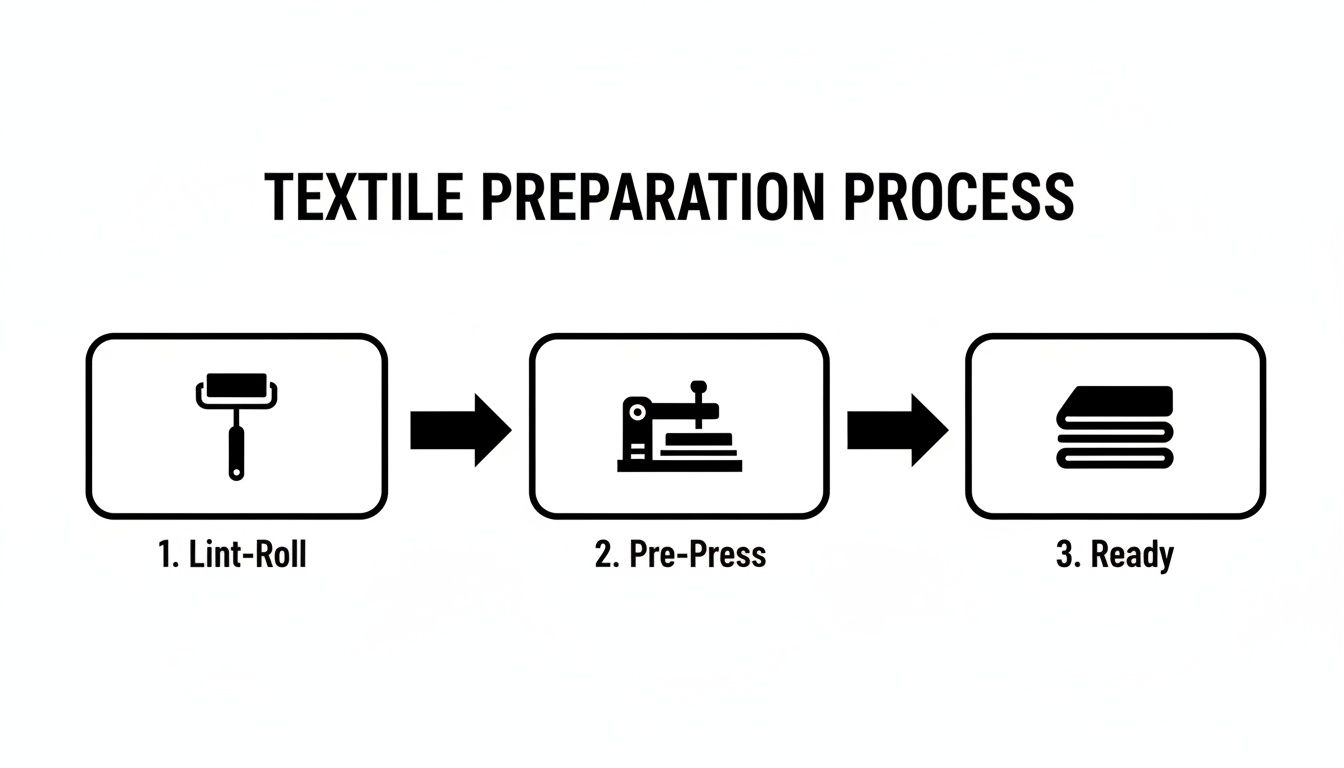
This simple three-step ritual—lint roll, pre-press, finish—is the foundation for a flawless transfer. It guarantees your surface is clean, dry, and ready to accept the ink.
With the prep done, it’s go-time:
-
Line Up the Transfer: Carefully place your printed sublimation paper face-down onto the blank. Use high-temp tape at the corners to lock it in place. Any shifting or sliding when you close the press is what causes that dreaded "ghosting" or blurred effect.
-
Make a Protective Sandwich: Lay a sheet of butcher paper (often called "blowout paper") on the bottom platen of your press. Place your blank, with the transfer taped on, right on top. Cover it all with another sheet of blowout paper. This simple step is your insurance policy, protecting your heat press platens from any ink that might bleed through the fabric.
-
Press It: Close the press firmly and start your timer. Trust the settings you’ve tested for your specific material. For most of our polyester textiles, a great starting point is 385-400°F for about 60 seconds with medium pressure.
Understanding the "Big Three" Pressing Variables
Getting consistently amazing results is all about understanding how time, temperature, and pressure work together. If your colors are coming out faded or muddy, one of these three variables is almost always the culprit.
Temperature is what turns the solid ink on your paper into a gas so it can bond with the polyester.
- Too low? The ink won't fully convert, leaving your design looking dull and washed-out.
- Too high? You’ll scorch the fabric. Polyester fibers can yellow or even melt if you overdo it.
Time is the window the ink has to migrate from the paper into the fabric.
- Too short? The transfer will be incomplete, giving you a weak or splotchy print.
- Too long? The colors can over-saturate and "blow out," making them look blurry and lose their crisp edges.
Pressure ensures the paper makes perfect, even contact with the textile.
- Too light? You'll get faded spots or an inconsistent transfer where the contact was weak.
- Too firm? You can leave permanent press marks on the fabric, especially along the hard edges of the paper.
As a rule of thumb, always start with the manufacturer's recommended settings for your blank. But don't be afraid to run small tests on a scrap piece or a hidden corner. Your specific heat press, the humidity in your shop, and even the brand of paper you use can all slightly tweak that perfect recipe.
The Big Reveal: What the Peel Tells You
Once the timer buzzes, open the press and, wearing heat-resistant gloves, remove the top sheet of paper. Peel back the transfer in one smooth, confident motion. This is the moment of truth, and it instantly shows you how well you did. The colors on the fabric should look shockingly more vibrant than they did on the paper just seconds before.
This is where the quality of your supplies truly shines. Advances in sublimation paper have been a huge win for small businesses, taking dye migration efficiency from a lackluster 70% to over 98% with top-tier paper. There's a reason the sublimation paper market is projected to grow from $1.4 billion in 2025 to $2.7 billion by 2035; it’s a critical piece of the puzzle for achieving vivid prints on textiles like our 430 GSM Sherpa. If you want to dive deeper into the market's growth, you can review detailed industry findings on FutureMarketInsights.com.
This final moment is one of the most satisfying parts of the job. It’s where all your careful prep and precise settings pay off, revealing a brilliant, permanent design that’s truly become one with the fabric.
Working Through Common Sublimation Transfer Issues
Even the most seasoned pros run into a transfer that doesn't turn out right. Don't worry—these moments are how you improve. Figuring out what went wrong is the best way to ensure it doesn't happen again, turning a frustrating mistake into a valuable lesson.
Think of this as your field guide for diagnosing and fixing the most common headaches in sublimation heat transfer. From ghostly images to mysterious colored dots, there’s almost always a simple cause and an even simpler solution.
Solving Ghosting and Blurry Images
You open the press, peel back the paper, and see a faint, blurry shadow haunting your otherwise crisp design. That is called ghosting, and it happens when the transfer paper shifts—even by a hair—while the press is moving or while the fabric is still hot.
The fix is all about locking that transfer down.
- Use High-Temp Tape: This is non-negotiable. Tape your transfer paper to the blank on at least two sides; for best results, tape all four.
- Open the Press Gently: If you have an auto-open press, don't let it slam open. The vacuum it creates can be just enough to lift and shift the paper. Lift the platen smoothly.
- Lift, Don't Slide: When the time is up, resist the urge to slide the blank off the press. Lift it straight up and move it to a cooling area without touching the transfer paper.
As textile specialists obsessed with quality, we can't recommend tacky sublimation paper enough, especially for large items like blankets. It has a light adhesive that activates with heat, gently gripping the fabric to prevent any of those micro-movements. It’s a simple change that makes ghosting a non-issue.
Why Your Colors Look Faded or Dull
Did your print come out looking washed-out and tired, nothing like the vibrant design on your monitor? Nine times out of ten, the culprit is your time, temperature, or pressure. The ink simply wasn't given the right environment to fully turn to gas and bond with the polyester fibers.
Here’s your diagnostic checklist:
- Check Your Temperature: Is the press actually as hot as it says it is? If it’s too cool, the ink won’t gasify properly. Make sure your press is calibrated and reaching the target temperature, usually between 385-400°F.
- Add More Time: Thicker, cozier fabrics like our 430 GSM Sherpa Throws need more time for the heat to soak all the way through. Try adding another 5-10 seconds to your dwell time and see if that brings the color to life.
- Confirm Your Pressure: Not enough pressure leaves tiny air gaps between the paper and the fabric, leading to a weak transfer. You're looking for firm, even pressure across the entire design.
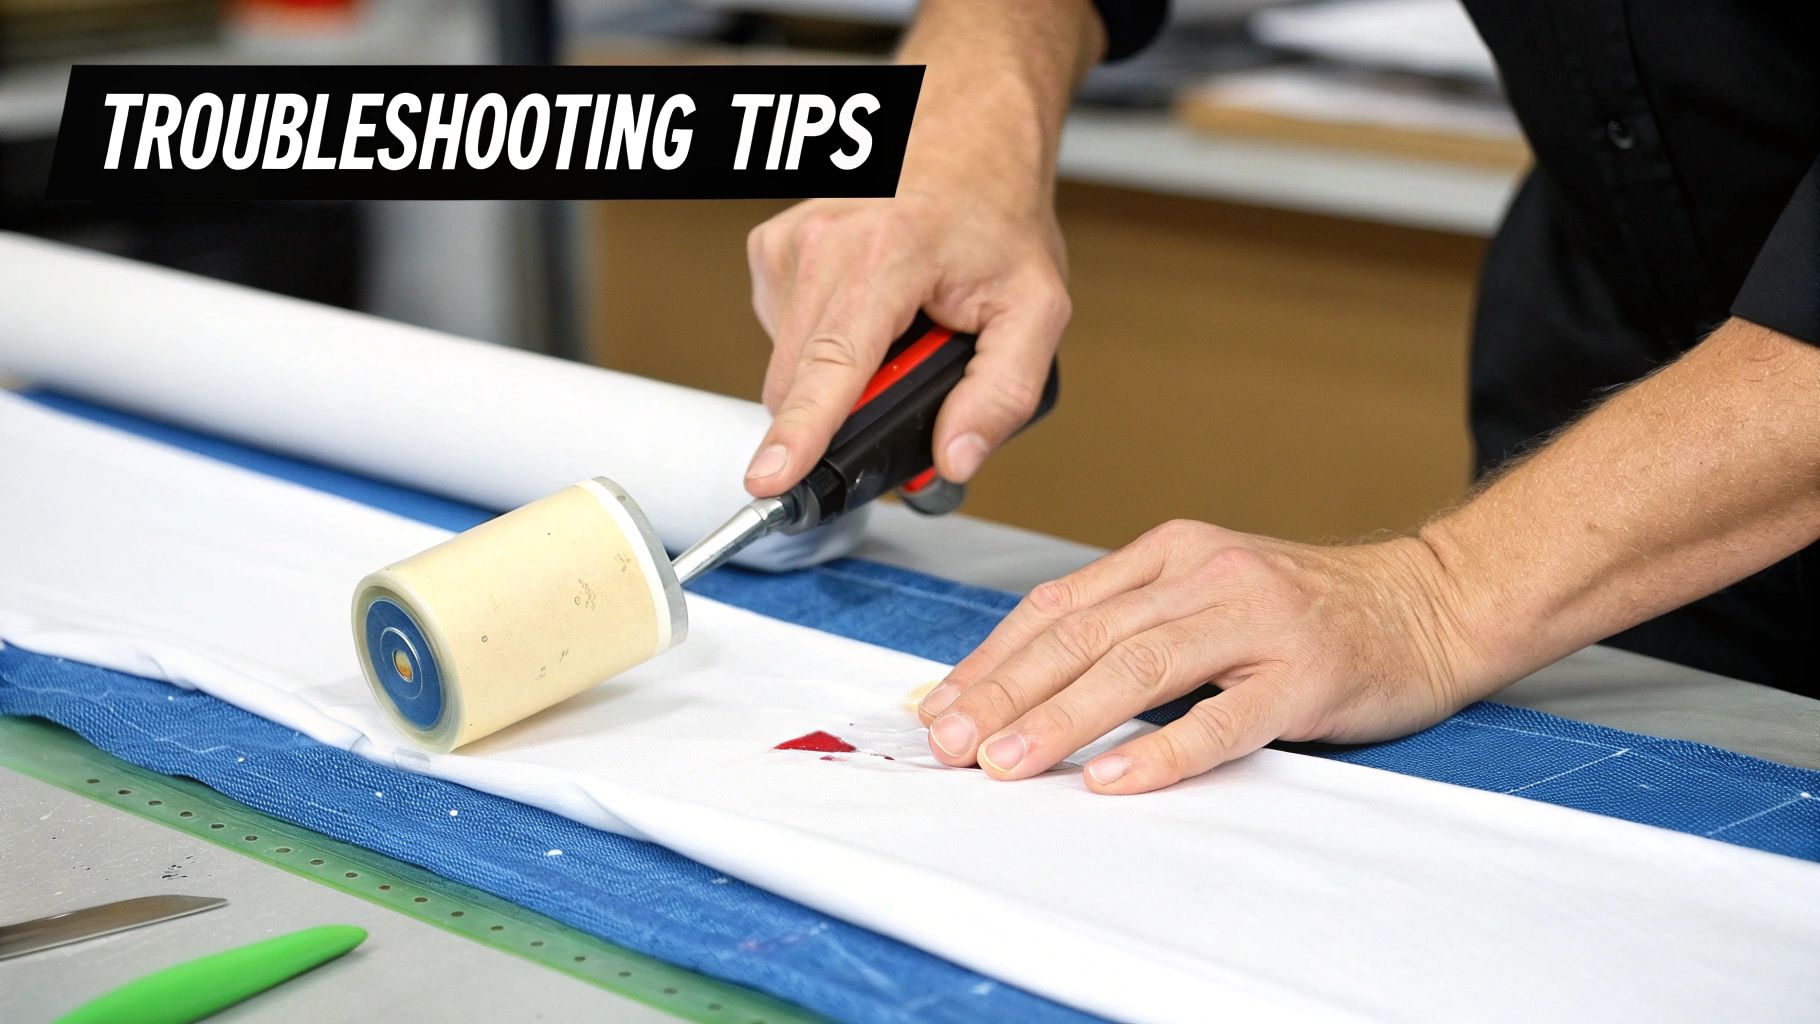
Finding and Fixing Random Colored Specks
There's nothing more maddening than pulling a perfect white blanket off the press only to find tiny blue or black specks marring the surface. These mystery spots are almost always caused by stray lint, dust, or a random thread that was on the blank before you pressed it. Under all that heat and pressure, that little bit of fluff sublimates right along with your ink, leaving a permanent mark.
Prevention is the only real cure here. You have to be almost surgical in your prep.
- Lint-Roll Everything: Get aggressive with a lint roller. Go over the entire surface of your blank right before you position the transfer.
- Keep a Clean Workspace: Wipe down your prep table and the platens of your heat press regularly to keep them free of dust and debris.
- Inspect Your Blowout Paper: Reusing butcher paper is smart, but always give it a once-over to make sure no ink residue or debris from a previous job is clinging to it.
Dealing with Press Marks and Uneven Transfers
Ever see harsh lines on your fabric that perfectly outline the edge of your heat press or transfer paper? That’s a pressure problem, and it's especially common on fabrics with a higher pile, where the fibers get easily crushed.
Similarly, if one part of your design looks fantastic but another looks faded, you're probably dealing with uneven pressure or a cold spot on your heat press. The first step is to ensure your pressure is firm but not crushing the fabric. If that doesn't solve it, a heat press pillow or a silicone pad can help. Placing one of these under your blank helps distribute pressure and heat more evenly, especially over tricky areas like seams or the thick hem of a blanket. It’s the secret to getting that flawless, edge-to-edge finish.
Finishing and Caring For Your Sublimated Products
The buzz of the heat press timer doesn't mean the job is done. The final steps you take after the transfer are what separate a good product from a great one. How you handle the item right off the press and the care instructions you provide are just as critical as your press settings.
Once you’ve peeled back the paper for that satisfying reveal, let the item cool completely on a flat, clean surface. Moving a hot blanket or t-shirt too soon can stretch the fibers or cause "ghosting," where the still-gaseous dyes leave a faint imprint elsewhere on the fabric. Letting it cool properly sets the design and locks in those vibrant colors for good. It's a simple step that ensures the crisp, sharp lines you worked for stay that way.
Explaining the Magic of Sublimation Durability
One of the best things about working with sublimation heat transfer is its incredible durability. This isn't like vinyl or screen printing, where the design sits on top of the fabric. Sublimation ink becomes a permanent part of the polyester fibers, and this is a huge selling point for your customers. It’s what builds trust and justifies the premium quality of your work.
When a customer understands their design won't crack, peel, or fade after just a few washes, they see the real value in what you’ve created. A simple phrase like, "the ink is in the fabric, not on it," makes the superior quality instantly understandable.
This permanence is why sublimation is perfect for items that get a lot of use. With 99% dye penetration into polyester, a sublimated design can easily outlast a screen-printed one by hundreds of wash cycles. It’s no surprise that 60% of promotional merchandise now uses sublimation, a massive jump from just 22% back in 2018. If you're interested in market trends, you can explore more dye-sublimation insights from The Cannata Report.
Simple Care Instructions Make a Big Difference
Giving your customers clear, simple care instructions is the final piece of the puzzle. It shows you care about their investment and empowers them to keep their custom product looking brilliant for years. We recommend including these on a small branded card tucked into the packaging or adding them directly to the online product description.
Here are the essentials we always recommend for sublimated textiles:
- Washing: Machine wash cold, inside-out, on a gentle cycle.
- Detergent: Stick with a mild detergent. Absolutely no bleach or fabric softeners, as they can dull the colors over time.
- Drying: Tumble dry on low heat. For the absolute best results, we tell people to hang-dry. High heat is the enemy of a vibrant sublimated print.
By following these simple rules, a product like one of our popular Spark Blank Textiles fleece throws will keep its soft feel and vivid colors, wash after wash. It's a small touch that goes a long way in showing you’re a pro who stands behind their work.
Scaling Up: From Hobby to Production
Making the leap from one-off projects to handling bulk orders is a game-changer. When you're ready to grow, the secret isn't just working longer hours—it's about refining your process. A smart, efficient workflow allows you to increase output without sacrificing quality.
Your first bottleneck is almost always prep work. Stop thinking one-at-a-time and start thinking in batches. Print and cut all your transfers for an entire order before you even turn on the heat press. Then, create an assembly line for your blanks: lint-roll a dozen towels, pre-press them to remove moisture, and stack them right next to your press. This way, the moment your press is free, the next item is ready to go.
Use Jigs for Perfect Placement, Every Time
Consistency is king when you're making multiples. A logo that's slightly crooked or off-center on one item out of fifty can make the whole batch look amateurish. This is where jigs and templates become your most valuable, low-tech tools.
You don’t need anything expensive. A simple piece of kraft paper cut to the size of your blanket, with corners marked for your design, works perfectly. For smaller items like our golf towels, you can cut a guide from a sturdy piece of cardboard that fits on your press platen. This removes all the guesswork and ensures every single item is aligned identically, saving you precious time and preventing costly mistakes.
As you scale, speed and consistency become non-negotiable. Shaving even five seconds off each item might seem small, but on an order of 100 pieces, you just saved nearly an hour of work.
Maximize Your Press Time
Your heat press is your money-maker, and it should never be sitting idle. The goal is to create a rhythm. While one item is pressing, you should be getting the next one aligned and ready. It's a "one on, one off" system that keeps production moving.
If you’re pressing a large blanket on a smaller press, work in a grid pattern. Press one section, then move to the next, making sure to slightly overlap your presses by about an inch. This little trick helps prevent those faint press lines from appearing between sections.
With higher volume comes a greater need for quality control. The global dye sublimation market hit $14.9 billion in 2024 and is expected to grow by 11.3% each year through 2030, largely because small businesses like yours are meeting this demand. The Cannata Report offers great insights into this growth and why quality at scale matters.
Set up a well-lit spot right next to your press to inspect every item as it cools. Look for ghosting, color gaps, or any stray fibers that might have snuck in. It's far better to catch a small mistake yourself than to have an unhappy customer find it. This attention to detail is what turns a side hustle into a successful business.
Got Questions About Sublimation? We’ve Got Answers.
Even after you've mastered the basics, you're bound to run into a few head-scratchers. Don't worry, it happens to everyone. Here are some of the most common questions we get from fellow creators dialing in their sublimation heat transfer process, along with some straight-to-the-point answers.
Can I really sublimate on 100% cotton?
This is probably the number one question we hear, and the simple answer is no. Think of it this way: sublimation ink is a special dye that needs polyester fibers to create a chemical bond. Without that polyester, there's nothing for the ink to grab onto.
If you press a design onto a 100% cotton shirt, the ink just sits on the surface. It might look okay at first, but it will almost completely disappear after the first wash, leaving behind a faint, ghost-like image. For those eye-popping, permanent colors, you have to stick with 100% polyester. You can work with a poly-blend (like 65% polyester), but just know that the ink will only bond to the poly threads, giving you a more vintage, faded look by design.
What are these tiny blue or black dots showing up on my finished product?
Ah, the dreaded "ink spots." Those frustrating little colored specks are almost always tiny pieces of lint, dust, or other fibers that were hiding on your blank before you pressed it. Even a speck you can't see with the naked eye will turn into a noticeable blue or dark dot under the heat and pressure of your press.
The only way to beat them is through prevention. Be absolutely religious with your lint roller right before you place your transfer. It also pays to keep your whole work area—and especially your heat press platens—spotless.
Take it from us—we've seen it all. We can confidently say that at least 90% of all print flaws come from skipping or rushing the prep stage. A few extra seconds with a lint roller and a quick pre-press will save you a world of frustration and a pile of wasted blanks.
Is there any way to fix a sublimation mistake after I’ve pressed it?
Unfortunately, once a sublimation transfer is done, it's permanent. This isn't like vinyl that you can peel off. The dye literally becomes part of the fabric, so there's no way to wash it out or remove it.
This is precisely why being meticulous about your time, temperature, pressure, and prep work is so critical. You only get one shot to get it right.
Ready to turn your creative ideas into brilliant, high-quality products? The curated collection at Spark Blank Textiles has everything you need to get started. Explore our premium, sublimation-ready blankets, towels, and more at the Spark Blank Textiles online store.


