Your Guide to Choosing the Right Dye Sublimation Kits
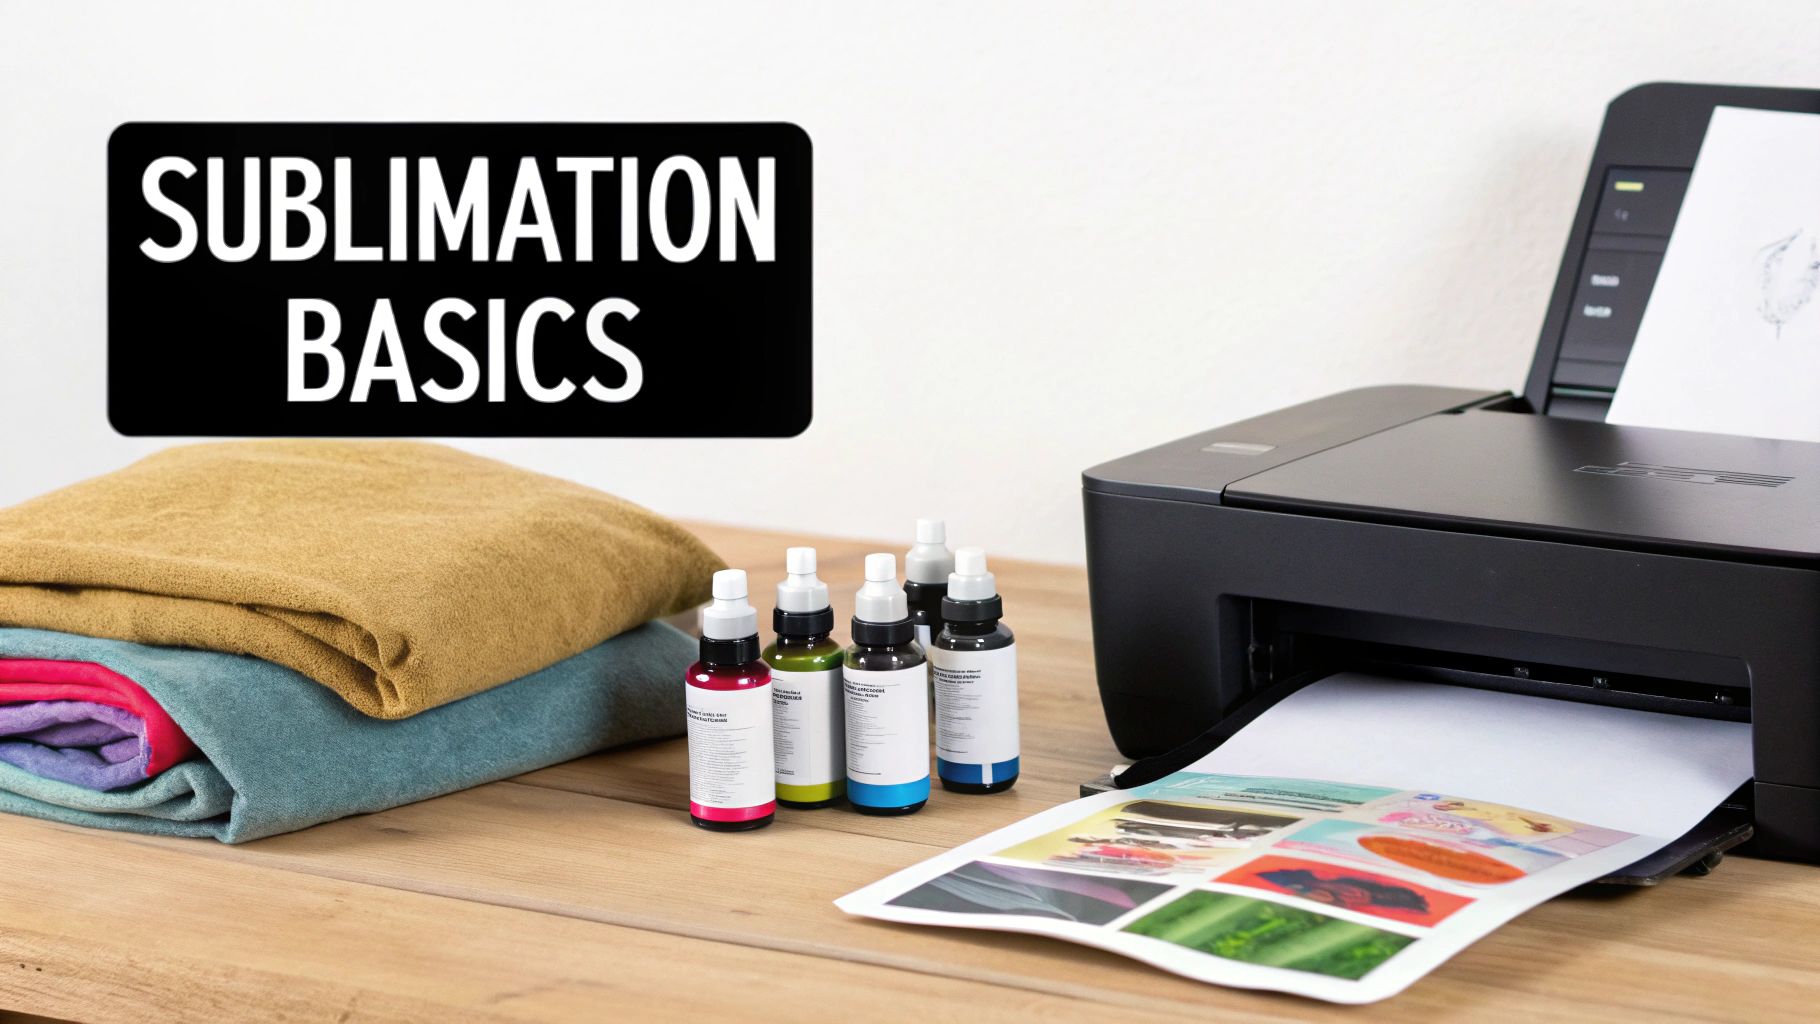
A dye sublimation kit isn't something you buy in a single, neat box. Instead, think of it as assembling your own specialized toolkit for your business. It's the core combination of a printer, specialty inks, paper, and a heat press that all work in concert to create stunning, professional-quality custom textiles. This setup is what lets you take a design from your screen and make it a permanent, vibrant part of a fabric.
So, How Do These Kits Actually Work?
Diving into dye sublimation for the first time can seem a little intimidating, but the science behind it is surprisingly straightforward. As textile specialists, we like to compare it to a high-end kitchen setup for a professional baker. You need the right oven (heat press), specific ingredients (inks and paper), and a proven recipe (your process) to turn simple batter into a masterpiece. In the same way, sublimation printing is all about getting the right components to work together perfectly.
What really makes this method special is how the design becomes one with the fabric. Unlike screen printing or heat transfer vinyl, where the ink or vinyl sits on top of the material, sublimation embeds the design directly into the fibers. The result is a print you can't feel, one that will never crack or peel, and that keeps the fabric's original soft texture—a crucial detail for premium blankets and towels.
From Solid Ink to Gaseous Magic
At its core, dye sublimation is a fascinating chemical reaction. Here’s a quick look at how a digital file transforms into a permanent part of your favorite blanket or towel:
- Step 1: Print. Your design is printed onto special transfer paper using a sublimation printer filled with sublimation inks. At this point, the ink is just a solid layer sitting on the paper.
- Step 2: Press. You place the printed paper onto your polyester or polymer-coated item. Using a heat press, you apply intense heat—usually around 380-400°F—and firm pressure.
- Step 3: Infuse. This is where the magic happens. The heat triggers the solid ink on the paper to turn directly into a gas, completely skipping the liquid phase. This is the "sublimation" part of the process. At the same time, the heat opens up the pores of the polyester fibers.
- Step 4: Bond. The gaseous ink instantly penetrates the open pores of the fabric. As soon as you remove the heat, the fabric cools, its pores close, and the ink solidifies, becoming a permanent part of the material itself.
This deep infusion is precisely why sublimation is the gold standard for soft goods. It's the perfect match for the premium, print-ready textiles we specialize in here at Spark Blank Textiles, ensuring every blanket and throw feels as incredible as it looks. You can dive deeper into a comparison of sublimation versus heat transfer to really see why it’s the superior choice for textiles.
A Huge Opportunity for Makers and Small Businesses
The demand for personalized products isn't just a fleeting trend; it's a massive and still-growing market. Valued at roughly $14.9 billion USD, the global dye sublimation printing market is on track to hit over $28 billion by 2032.
This incredible growth is being fueled by creative businesses and makers just like you, who are producing the custom apparel, home goods, and promotional items that customers are clamoring for. For Etsy sellers, custom gift businesses, and boutique creators, it's a fantastic time to build your brand.
The Essential Components of Your Sublimation Kit
Think of a dye sublimation kit less like a single box and more like a hand-picked team of essential gear. You'll need four core pieces working together, and each one has a critical job to do. For any small business just starting out, getting these components right from the get-go is the key to avoiding headaches and making sure your creative business is built on a solid foundation.
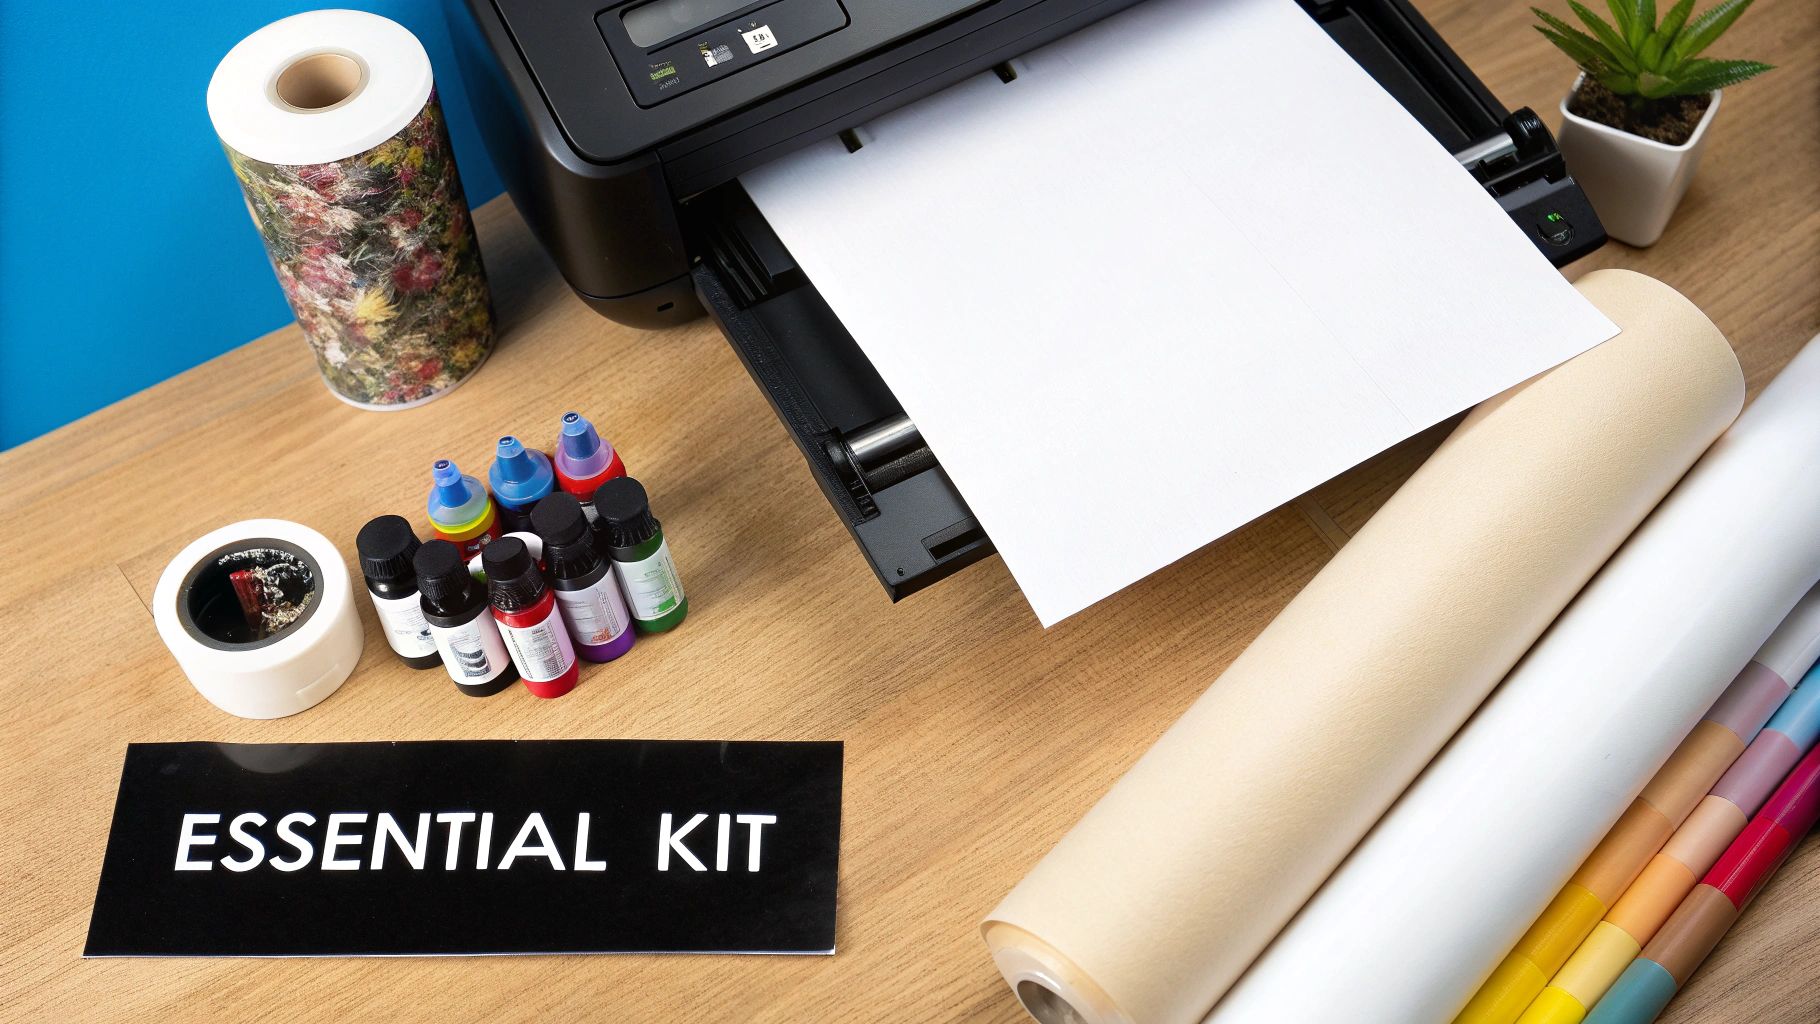
It’s like baking a cake—if one ingredient is off, the whole thing suffers. Let's walk through the four non-negotiable pillars of a professional sublimation setup.
The Sublimation Printer: Your Creative Engine
This is where it all starts. A sublimation printer isn’t your average office machine; it’s specifically built to handle the unique inks needed for this process and to print your designs with incredible detail. For most small businesses, there are two popular routes to take.
- Dedicated Sublimation Printers: These are purpose-built machines from brands like Sawgrass. They're designed to be plug-and-play, often coming with their own color management software, robust customer support, and a warranty that actually covers using sublimation inks.
- Converted Inkjet Printers: This is a more hands-on approach. Many makers start by converting a new inkjet printer—usually an Epson EcoTank model—to run on sublimation ink. It can be a more budget-friendly way to start, but it means you're on your own for setup and you'll void the printer's warranty immediately.
So, which one is right for you? Below is a quick comparison to help you weigh the pros and cons based on your business goals, budget, and how comfortable you are with the technical side of things.
Comparing Sublimation Printer Options
Here’s a practical look at the two main types of sublimation printers to help you choose the right starting point for your creative business needs and budget.
| Feature | Dedicated Printers (e.g., Sawgrass) | Converted Inkjet Printers (e.g., Epson EcoTank) |
|---|---|---|
| Upfront Cost | Higher | Lower |
| Setup & Ease of Use | Plug-and-play; very straightforward | Requires manual setup; can be technical |
| Warranty & Support | Full manufacturer warranty and dedicated support | Voids warranty; rely on community support (forums, videos) |
| Color Management | Comes with custom software (ICC profiles) for easy color accuracy | Requires sourcing and installing your own ICC profiles |
| Reliability | Designed for sublimation; less prone to clogging | Can be reliable, but requires more maintenance |
| Best For | Beginners, businesses prioritizing ease and reliability | Businesses on a tight budget, tech-savvy users |
Ultimately, a dedicated printer is the reliable, easy-to-use option, while a converted model offers a lower barrier to entry if you don't mind a more hands-on approach.
Sublimation Inks: The Heart of Your Color
Let's be clear: sublimation ink is not regular printer ink. It’s a special dye designed to do something magical—turn from a solid into a gas under heat, allowing it to permanently bond with polyester fibers. If you try to use standard ink, you'll just get a messy, washable smudge.
Skimping on ink quality is a bad idea. High-quality inks are the secret to getting those punchy, vibrant colors you see in professional products. Cheaper inks can cause clogged printer heads, produce dull or inaccurate colors, and ultimately lead to a pile of wasted, expensive blanks.
Key Insight: To get what you see on screen, you need an ICC profile. This is a small file that acts as a translator, telling your printer exactly how to mix colors using your specific ink and paper. Good ink suppliers will provide these profiles, taking the guesswork out of color matching.
Sublimation Transfer Paper: The Delivery Vehicle
Think of sublimation paper as the temporary home for your design. Its job is simple but critical: hold the ink perfectly during printing, then release as much of that ink as possible onto your product when heat is applied.
A good transfer paper is the difference between a crisp, sharp image and a blurry, faded mess. The paper's special coating is what lets the ink "let go" and turn into a gas. This is especially important when you're working with detailed designs on high-end textiles, like our woven tapestry blankets, where every line and shade matters.
The Heat Press: Where the Magic Happens
Finally, we have the workhorse of the whole operation: the heat press. This machine delivers the two things sublimation absolutely requires: consistent high heat and firm, even pressure. It’s the tool that triggers the chemical reaction, permanently infusing your design into the fabric.
For any business working with larger items like our fleece blankets, sherpa throws, and picnic blankets, the size and quality of your press are make-or-break. A cheap press with cold spots or uneven pressure will ruin your products and your profits. Investing in a good one protects your inventory, your reputation, and ensures every piece you sell is something you can be proud of.
Choosing a Heat Press for Your Textile Business
Think of your heat press as the heart of your sublimation setup. While printers and inks get a lot of the spotlight, the press is where the magic really happens—it’s the tool that makes your designs permanent. Picking the right one isn't just about buying equipment; it's a long-term investment in your business's quality and efficiency.
For any business working with textiles, especially larger pieces like blankets and towels, this choice is even more critical. A solid, reliable press from day one will save you countless headaches and wasted materials. It’s the difference between creating products you’re proud to sell and ending up with a pile of expensive mistakes.
Why Platen Size Is a Deal-Breaker
When you're sublimating large textiles, size matters. A lot. The platen—that’s the hot metal plate that does the work—determines the biggest single area you can press at once. A standard 15x15" press might be fine for t-shirts, but it quickly becomes a frustrating limitation when you’re trying to print a plush fleece blanket.
To get those beautiful, edge-to-edge designs on bigger items, you really need to start with at least a 16x20" press. A bigger platen lets you press a large design in one go, which is essential for a few key reasons:
- Speed: You'll finish jobs so much faster, which means you can take on more orders.
- Quality: You won't have to worry about ugly press lines or weird color gaps from trying to piece together multiple presses on a single item.
- Flexibility: You can say "yes" to a wider variety of projects, from hand towels to big, cozy throws, without your equipment holding you back.
If you’re planning to offer items like our popular sherpa sublimation throws or picnic blankets, a large-format press isn’t just a nice-to-have. It’s a must for getting that flawless, professional finish your customers expect.
Clamshell vs. Swing-Away: What's the Best Fit?
Next up, you'll need to decide on the style of press. The two main players are clamshell and swing-away, and for textile work, one is the clear winner.
- Clamshell Press: These open and close just like the name suggests. They're great for saving space and are often a bit friendlier on the wallet, making them a common starting point. The catch? The pressure comes down at a slight angle, which can cause issues with thicker items.
- Swing-Away Press: Here, the top platen lifts up and swings completely out of the way. This gives you a straight, even, top-down pressure, which is exactly what you need to ensure heat and force are applied uniformly across the entire design.
For thicker textiles like our fleece blankets or woven throws, a swing-away press is the way to go. It gives you more room to work, so you can lay out your blanket without accidentally burning your knuckles on a hot platen. More importantly, that even pressure is your best defense against faded spots and ensures a perfect ink transfer, every single time.
Pro Tip: Perfect pressure is just as critical as the right temperature. A quality swing-away press guarantees that every inch of your design gets the same amount of force, which helps you avoid "ghosting" or blurry edges that can ruin an otherwise perfect product.
The Hidden Power of Consistent Heat
Finally, let's talk heat. A cheap press might claim it can hit 400°F, but if it has hot and cold spots across the platen, your prints will come out splotchy and uneven. Remember, sublimation works by turning solid ink into a gas, and that process demands precise, consistent heat.
When you invest in a press from a reputable brand, you're paying for quality heating elements that are distributed evenly. That reliability means you can trust your settings. When the recipe calls for 400°F for 60 seconds, you know that's what you're actually getting, saving you from the frustration and cost of failed prints. A great heat press pays for itself over and over again in saved materials, less wasted time, and happy customers.
Your Step-by-Step Sublimation Workflow
Alright, you've got your dye sublimation kit. Now for the fun part: turning your digital designs into vibrant, touchable products. Think of the next few steps as your go-to recipe for getting things right. Follow it closely, and you’ll be pressing like a pro in no time.
The whole process really boils down to five stages. Each one is a building block for the next, and nailing this sequence is how you get those crisp, professional-looking results on your blankets and throws.
Step 1: Nailing the Design
Before you even touch your printer, your design needs to be perfect. This is where you have the most control, so don't rush it.
Open up your favorite design software, whether that's Adobe Photoshop, Affinity Designer, or something similar. Your canvas absolutely must be set to a high resolution—300 DPI (dots per inch) is the industry standard for a reason. Anything less, and you risk a fuzzy, pixelated final product. Make sure your color mode is set to RGB, which is what your sublimation printer is expecting.
Heads Up: You have to mirror your image before you print. Flip it horizontally! If you forget this, any words or logos will be backward on your final product. It's a classic mistake for new printers, and it hurts every time.
Step 2: Printing Your Transfer
With your design prepped and mirrored, you're ready to send it to the printer. But this isn't your average "File > Print" job. Your printer settings directly control how much ink gets put down on the paper, which makes all the difference in the final vibrancy.
Always choose the highest quality print setting you have available. You’ll also want to tell the printer what kind of paper you're using. Look for a "premium matte" or a similar high-quality paper option in the settings. This tells the printer to slow down and be more precise with the ink. And don't forget to use the right ICC profile for your specific printer, ink, and paper combo to get your colors just right.
Step 3: Prepping Your Textile
Don't even think about skipping this part. Properly prepping your blank is the single best way to avoid those little imperfections that can ruin a great print.
First, lint roll the entire surface of your blanket or throw. And we mean meticulously. The tiniest speck of dust or a stray fiber will turn into a noticeable blue or black dot under the press. Next, give it a quick pre-press for about 5-10 seconds. This removes any moisture out of the fabric and smooths out wrinkles, giving you a perfect canvas.
The heat press is the heart of the operation. The guide below breaks down the key things to think about when you're setting up.

As you can see, getting the platen size, press style, and heat settings right is everything when it comes to textiles.
Step 4: Securing and Pressing
Okay, your blank is ready. Carefully lay your printed transfer paper face-down where you want the design to go. Now, grab some heat-resistant tape and secure the corners. This is crucial for preventing the paper from shifting, which causes that awful blurry effect known as "ghosting."
Time to build what we call a "sublimation sandwich." Place a sheet of protective paper (butcher paper works great) under your blank and another one on top of your transfer paper. This simple trick protects your heat press from any ink that might bleed through, keeping it clean for the next job. Now, you’re ready. Close the press and run it for the time, temperature, and pressure recommended for your specific blank.
Step 5: The Big Reveal
When that timer finally beeps, carefully open the press. The item will be incredibly hot, so use caution. Move it to a heat-resistant surface and, with heat-protective gloves on, peel the transfer paper off in one smooth, steady motion. This is the magic moment—watching your digital art become a permanent, brilliant part of the fabric.
Let it cool down completely, and you're done. You just made a stunning, custom product.
Getting Professional Results: The Supplies and Habits That Matter
Having a great dye sublimation kit is a fantastic start, but it's really just the beginning. The secret to moving from hobby-level results to truly professional work lies in the details—the extra supplies and consistent habits that ensure every print is a winner. This is what separates a decent-looking product from a brilliant one you can confidently sell.
It's easy for newcomers to overlook a few simple, inexpensive tools. But these aren't just optional accessories; they are your front-line defense against costly mistakes and wasted blanks. Building them into your standard workflow isn't just a good idea—it's how you start creating premium textiles, every single time.
Your Everyday Toolkit for Flawless Prints
Think of these items as your pre-flight checklist. Skipping any of them just isn't worth the risk.
- Heat-Resistant Tape: This is your best friend for preventing "ghosting"—that annoying blurry effect you get when the transfer paper shifts during pressing. A few small pieces are all it takes to lock your design down, guaranteeing sharp, clean lines.
- Butcher Paper (or Protective Paper): You'll use this to create a "sublimation sandwich" around your textile. It acts as a protective barrier, stopping ink from bleeding through onto your heat press. Without it, that stray ink can easily transfer onto your next project. It's a cheap insurance policy for your gear and your products.
- Lint Roller: Honestly, this might be the most crucial tool you own. Even the tiniest speck of lint or dust, totally invisible to the naked eye, will turn into a glaring blue or black dot after pressing. A quick, thorough lint roll is the final, essential step to prepare a perfect canvas.
Pro Practices That Make a Real Difference
Beyond the tools, professional-grade results come from a disciplined process. The sublimation printing equipment market, now valued at $2.7 billion USD, is booming because modern machines deliver incredible precision. But that precision is useless without the right practices to back it up.
The most successful makers we know develop a "recipe" for every type of blank they use. They write down the exact time, temperature, and pressure settings that deliver perfect results for a specific item, whether it's a fleece blanket or a golf towel.
Key Takeaway: Consistency is born from process. Don't rely on memory. Create a cheat sheet with your proven recipes for each textile you offer, from our plush sublimation towels to our thick sherpa throws.
The Non-Negotiable Pre-Press Routine
There are two simple things you should do before every single press. They will save you more time, money, and frustration than just about anything else.
- Run a Nozzle Check: Before printing your first transfer of the day, always print a nozzle check pattern. This quick test instantly shows if any printhead nozzles are clogged. Catching a clog here costs you a single sheet of paper; finding it on a $15 blanket is a much more painful loss.
- Always Pre-Press Your Blank: Before you even think about placing your design, press the blank textile by itself for 5-10 seconds. This is a game-changer. It gets rid of any hidden moisture in the fabric (which can cause splotchy colors) and smooths out wrinkles, giving you a perfectly flat surface for an even transfer.
These small, repeatable actions are the bedrock of a professional sublimation business. They ensure every premium textile you get from Spark Blank Textiles is transformed into a flawless product that will keep your customers coming back for more.
How Sublimation Can Grow Your Creative Business
Getting the hang of the tech behind a dye sublimation kit is one thing, but understanding how it plugs into your actual business goals? That’s where things get really exciting. When you invest in this process, you’re not just buying equipment to make things—you're unlocking brand new ways to create high-value custom goods and build a smarter, low-inventory business.
For anyone running an Etsy shop, a small boutique, or creating promotional products, sublimation is a game-changer. It gives you the power to turn a simple blank item into something premium and personal, which people will happily pay more for. You can turn a high-quality textile into a custom photo blanket, a branded towel for a local business, or a one-of-a-kind tapestry featuring a customer's own art. The profit margins are fantastic.
Meeting Modern Market Demands
Let's be clear: the hunger for personalized, unique products isn't just a fleeting trend. It's a massive market shift. The dye sublimated apparel market alone is expected to jump from $6.1 billion USD to $14.7 billion by 2035. That's a staggering 141% increase.
This boom is being fueled by small, creative businesses just like yours that have tapped into what customers really want: something special. By offering top-notch sublimated textiles, you're placing your business right in the middle of this wave of consumer demand.
Building a Scalable On-Demand Business
One of the biggest wins with sublimation is how perfectly it fits the "on-demand" model. You don't have to sink your money into a mountain of pre-printed inventory and cross your fingers, hoping you guessed right about which designs will be a hit. Instead, you make products as the orders roll in. This completely changes the game by minimizing your financial risk and waste.
This low-inventory approach is a huge advantage for small businesses. It means your cash isn't tied up in stock, freeing you up to be nimble, experiment with new designs without fear, and shift your product lineup based on what’s actually selling.
At the end of the day, a quality dye sublimation kit is the tool that turns your creative ideas into a profitable business. When you pair that technology with a supplier who is obsessed with quality textiles, you’ve got a winning combination. As textile specialists, we ensure your canvas is just as brilliant as your designs. Our curated selection of premium, print-ready sublimation blankets gives you the perfect foundation to create vibrant, sought-after products that will truly grow your business.
Got Questions About Dye Sublimation? We’ve Got Answers.
When you're first getting into the world of sublimation, it's natural to have a few questions. Getting these cleared up from the get-go will save you a ton of headaches (and money) down the road. Let's walk through some of the most common things that new print shop owners and makers ask.
Can I Just Use My Regular Printer for Sublimation?
This is a common question. The short and simple answer is no, you can't. Your standard home office printer is built for printing documents on paper, not for creating sublimation transfers. The process relies on special ink that turns into a gas under heat, and that requires a printer with a piezo printhead.
Certain Epson models are famous for this because their printheads don't use heat to push ink out, which would cook the sublimation ink before it ever reached the paper. Trying to use the wrong printer is a non-starter; you'll get a print, but it won't transfer.
Why Does It Have to Be Polyester?
This is where the magic really happens. Sublimation is a chemical process that creates a permanent bond between the ink and polymer fibers. Think of it like this: when you apply heat, the "pores" of the polyester fabric open wide up. The sublimation ink turns into a gas and floats right into those open pores.
Once you remove the heat and the fabric cools, the pores snap shut, trapping the ink inside the fibers for good. Natural materials like cotton just don't have these polymer pores for the ink to grab onto. The design will look faded from the start and wash right out, leaving you with a blotchy mess.
What's the Biggest Rookie Mistake I Should Avoid?
Without a doubt, the most common (and frustrating) mistake beginners make is poor prep work on their blanks. It sounds simple, but forgetting to lint roll a blanket can ruin a whole project. You might not see those tiny specks of dust, but your heat press will, turning them into little blue or black dots all over your finished product.
Another crucial step people skip is the pre-press.
Pre-pressing your textile for a few seconds before you add the transfer does two critical things: it gets rid of any hidden moisture and smooths out every last wrinkle. This gives you a perfectly flat, dry canvas for a crisp, even transfer. Nail these two habits, and you'll be producing pro-level quality from day one.
Ready to turn those creative ideas into vibrant, high-quality products? It all starts with the right canvas. Spark Blank Textiles offers a curated selection of premium, sublimation-ready blankets, towels, and more that are thoughtfully chosen for comfort, quality, and creativity. Check out our collection and get started today.


